Shaders can be a useful way to enhance the visual presentation of your project through subtle or otherwise effects. Beyond code, the engine provides a built in visual scripting tool to create shaders from version 2019 onwards.
We will create an effect that allows us to highlight the player and obscure the rest of our stage. With scripting, we can also modify our exposed shader properties to adjust the intensity of the transparency effect, and transition to having no highlight. Examples will be shown later in the post.
Prerequisites
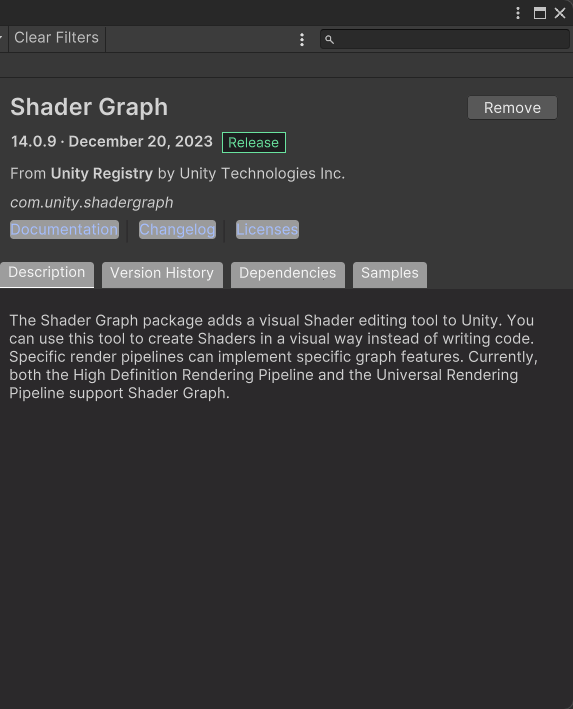
Ensure you have the Shader Graph package installed in your version of Unity. I am using 2022.3.17f for this post.
Creating the Shader
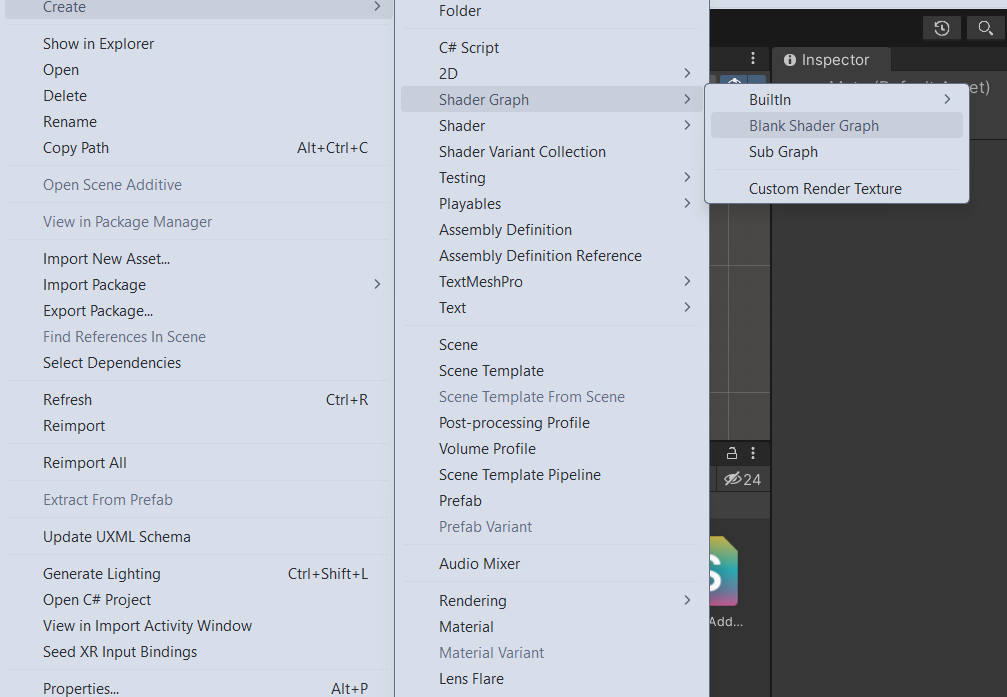
Right click in your Unity Project and do Create > Shader Graph > Blank Shader Graph
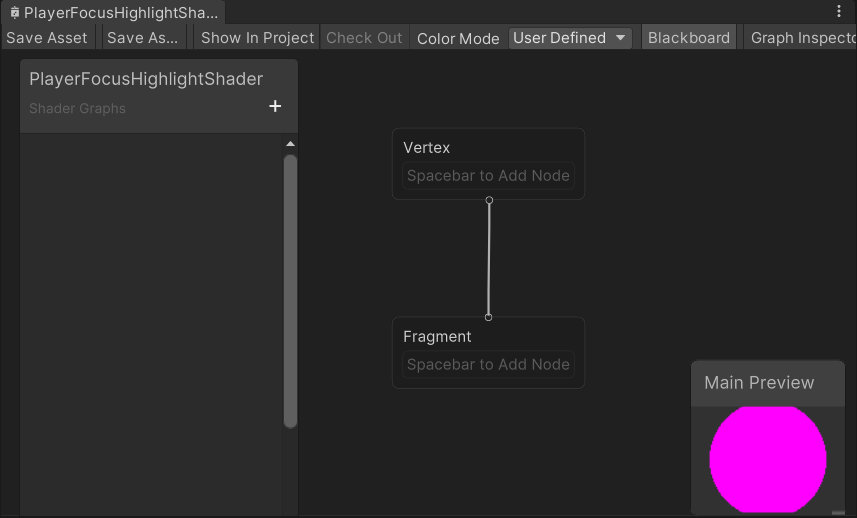
Now that we have a Shader Graph file, simply open the editor by double clicking it.
Let’s add some basic shader properties first. Navigate to the Graph Settings and add Built In as a target. We want the ability to control the transparency of our pixels, so also add the Alpha property to our fragment.
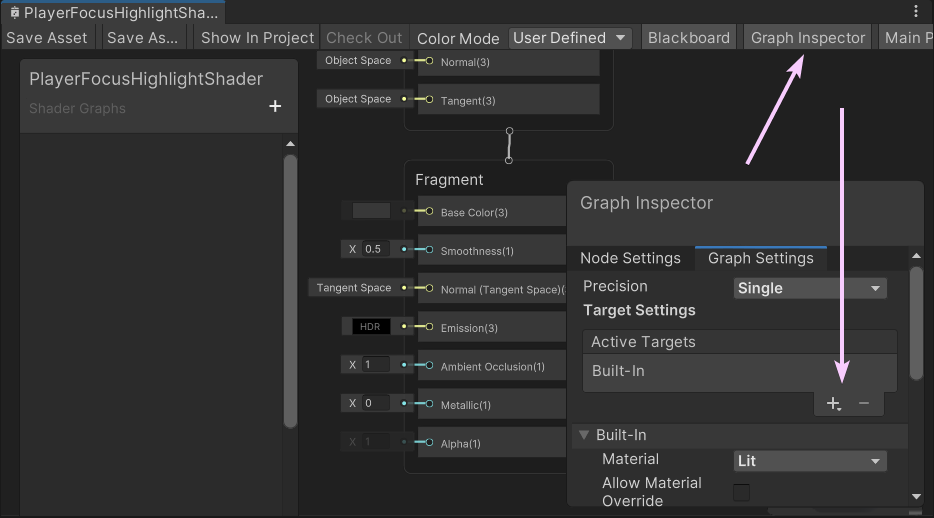
In order to properly utilize the Alpha property, we will need to edit the Built In settings Surface Type to Transparent.
Shader Inputs
The first thing to consider is the Player’s world position. Since we want the highlight effect to follow the player, we’ll need some sort of input into the shader.
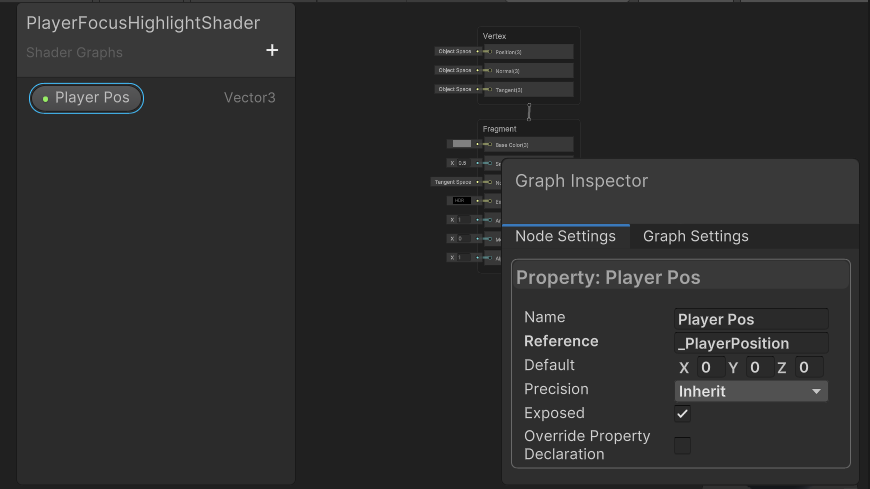
In the Shader Graph editor, ensure the ‘Blackboard’ option is checked and visible, then click the plus button on the left side of the editor to create an input variable. Make it a Vector3 category. The ‘Name’ is for visual purposes, and the ‘Reference’ field will allow scripts access to the property. Give that some value like “_PlayerPosition” and drag it into the stage.
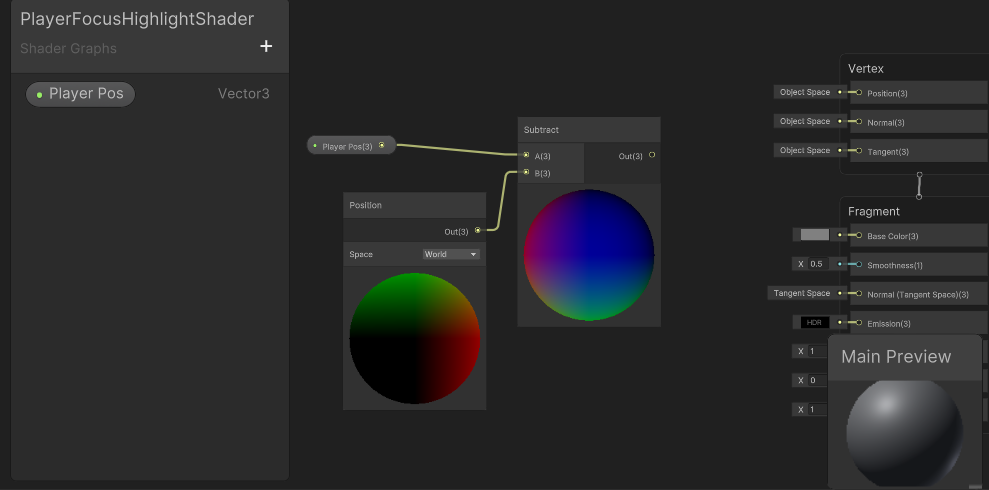
Since that’s simply a Vector, we need to translate that into something usable for our shader. We need to subtract the input player position from our world position so we can get the individual area to affect.
Right click, and create a Position and Subtract node.
Connect the player position and world position node to the subtract node. At this point your graph should look similar to below.
Next we will need a Length node to translate our position into a distance.
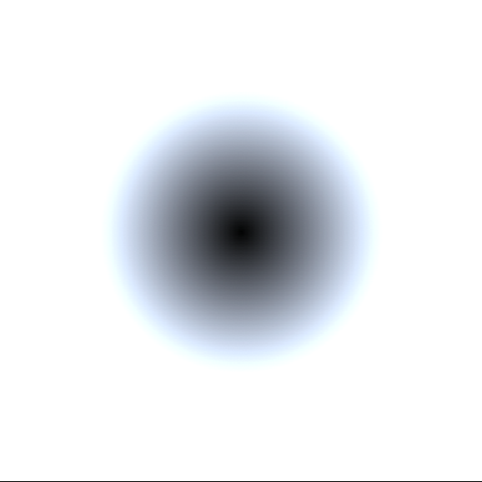
At this point, if we connect the output of our length to our Base Color on our Fragment, we can see a strange divine light.
How can we control the actual effect size?
We need a multiply node and some additional input here to control the highlight amount.
Let’s create a new Multiply node, and a Float input.
Name the Float input something like _EffectStrength, and feed the length output into the new multiply node.
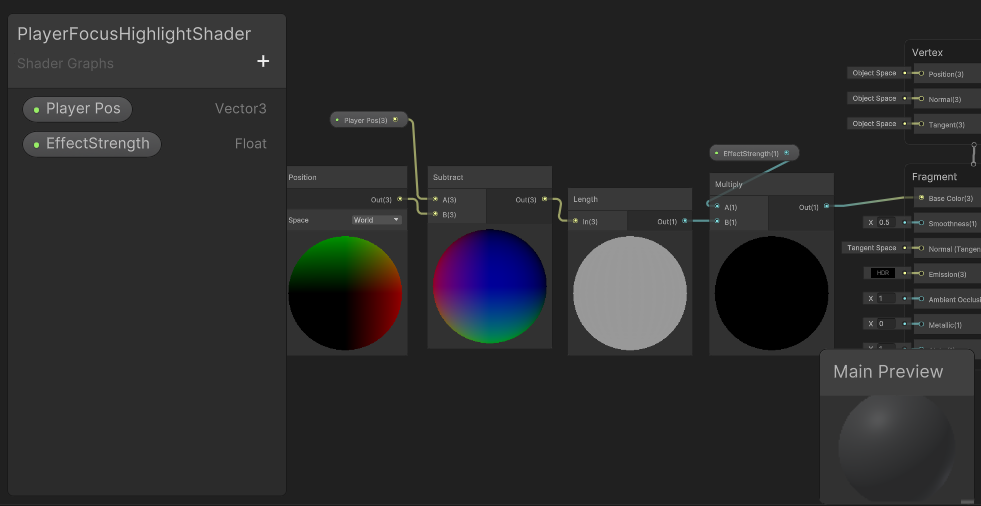
You should have something similar to this, and the shader will go black again. This is simply because we haven’t given it an effect strength yet.
Save this Shader Graph asset and assign it to an object in our scene if you haven’t already.
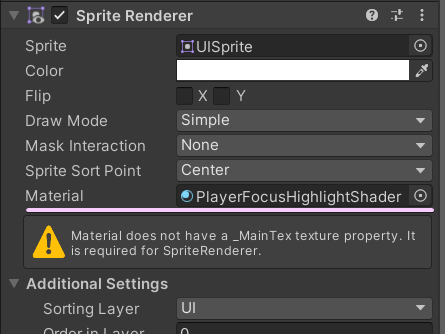
Notice the warning. This refers to the fact that we aren’t rendering a sprite. This is correct, and can be safely ignored.
Assuming a reference to the sprite renderer component, we can then use the material set property functions to pass along our game values in an Update function or whenever needed.
RevealBG.material.SetVector("_PlayerPosition", position);
RevealBG.material.SetFloat("_EffectStrength", highlightingPlayerAmount);
Set the effect to something visible like 1 for now. We can also set a default through the Shader Graph editor.
All of this grey is pretty boring, so let’s add some color. The ability to edit our colors through scripting is pretty important, so let’s create two new Color variables.
The shader will lerp between these two colors for the highlight effect. We could use only one color considering our goal of mixing the effect with transparency, but the additional color gives more control over the effect appearance.
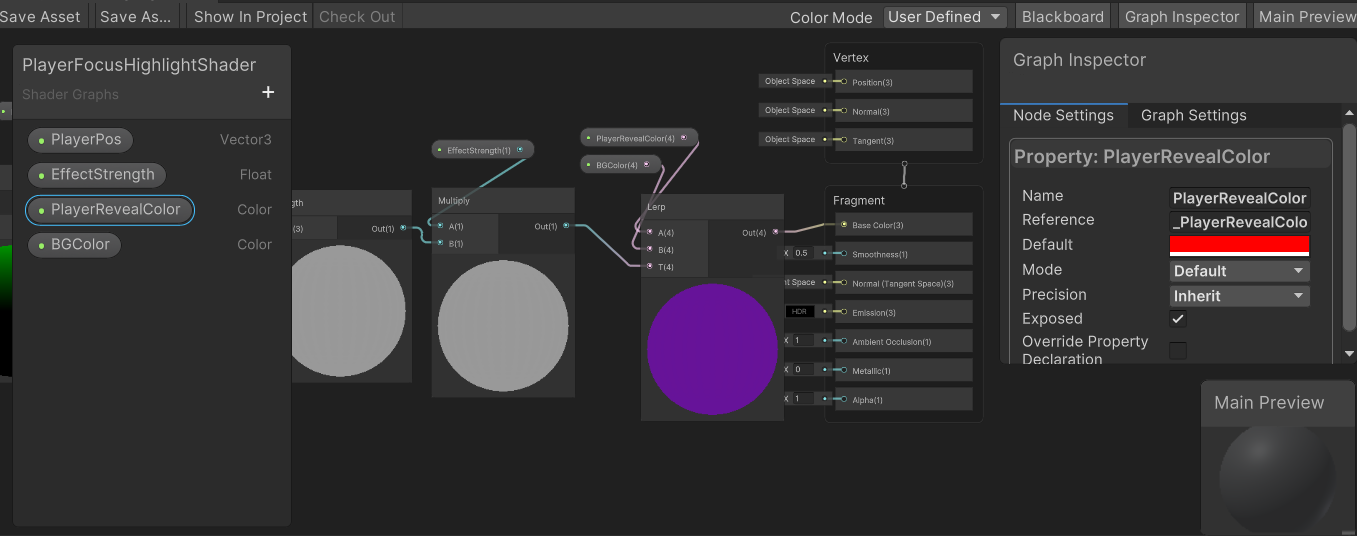
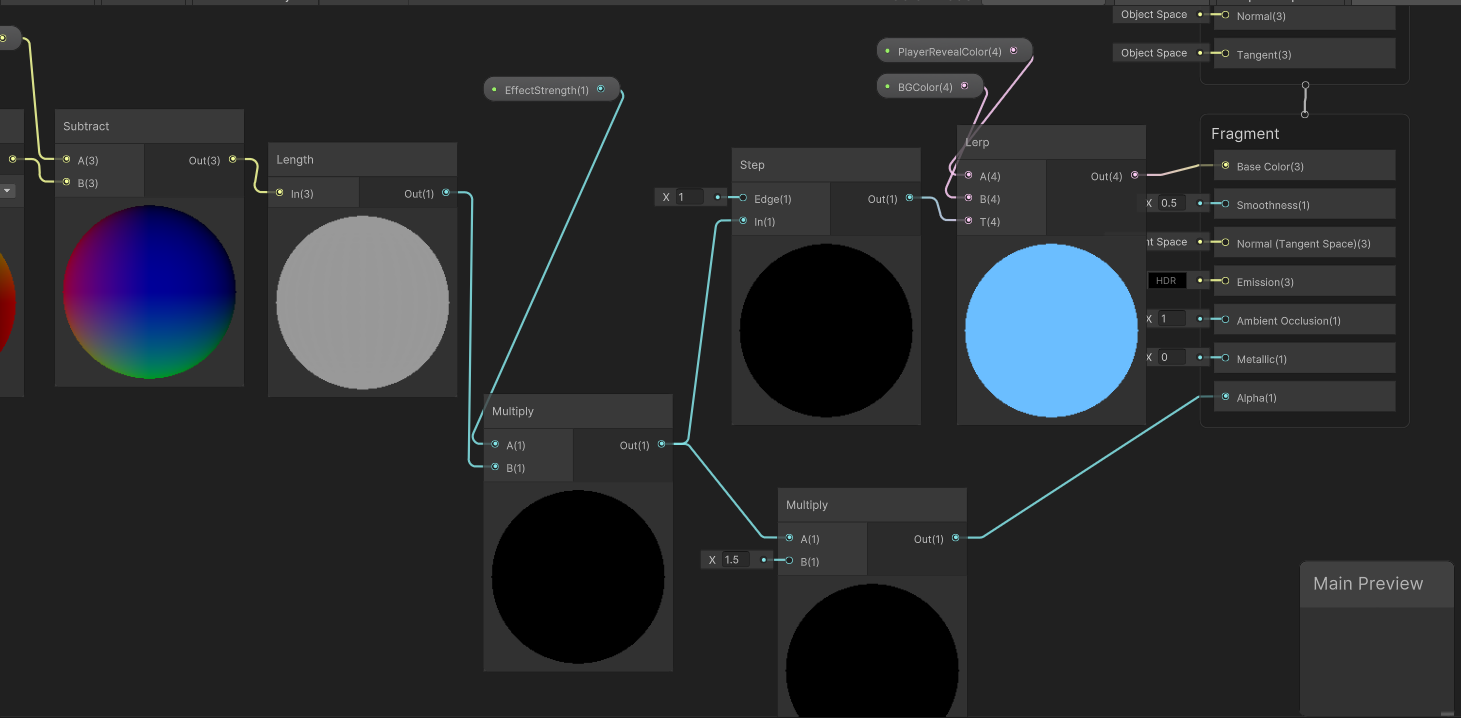
Create a Lerp node. Connect the output of the previous multiply node to the lerp T input, and the two new colors to the A and B inputs, respectively.
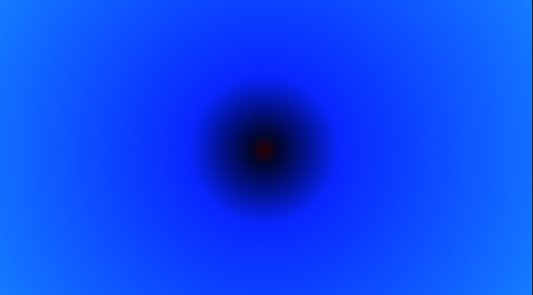
I set BGColor to blue, and PlayerRevealColor to red through the graph inspector to clearly show the shader effect.
If all goes well, you should have a circular gradient in the input colors you’ve specified.
And something like this in your Shader Graph.
That gradient isn’t really the look we want. Instead, we want a tight circular highlight around the player position.

To achieve this, we can add a Step node.
Insert it between the multiply and lerp node at the end, and it will produce a gated circular output.
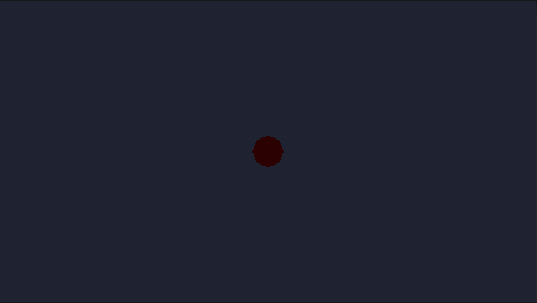
Adjusting the EffectStrength should make the circle appear larger. Try values from 0 -> 1. Above 1 will make the highlight smaller.
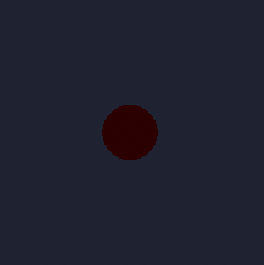

Now we just need to connect our transparency logic.
Add another Multiply node that we will use for the Alpha property on the Fragment. The input should be our previous multiply node’s output, before the Step node. This allows control over the strength of the highlight fade. I went with 1.5.
You’re pretty much finished!
We can adjust the colors to do screen wave effects like this that could be enhanced with particle effects.
Or as a game over effect where you hide the rest of the stage and highlight the player. I added a purple background sprite behind the player to show the masking effect.
Force fields, lights for dark mazes etc all follow a similar concept.
It helps me if you share this post
Published 2024-01-21 06:00:00
